This article demonstrates how to set up Airmail on macOS to access an techseri e-mail account.
To configure Airmail to work with your techseri e-mail account, follow these steps:
- Make sure you have already created at least one e-mail account for your domain. If you have not done this, please see this article to learn how to create an e-mail account using cPanel.
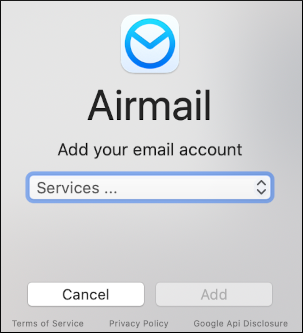
- Start Airmail. The Add your email account dialog box appears:
 The user interface displayed in these images may differ slightly from the version you have installed.
 -
In the Services list box, select one of the following protocols:
- If you want to use IMAP, select Generic IMAP.
- If you want to use POP3, select Generic POP3.
-
Click Add. The account configuration dialog box appears:
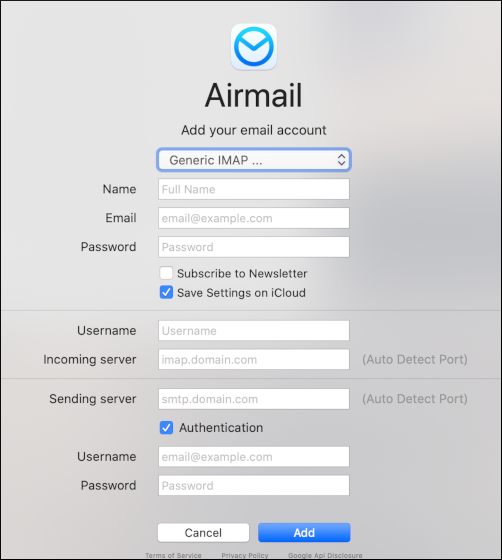
- In the Name text box, type the name you want to appear on messages you send from the account.
- In the Email text box, type the e-mail address of the account you created in cPanel.
- In the Password text box, type the password for the e-mail account you created in cPanel.
- Select whether or not you want to receive newsletters or save account settings on iCloud.
- In the Username text box, type the e-mail address of the account you created in cPanel.
- In the Incoming server text box, type mail.example.com, where example.com represents your domain name.
- In the Sending server text box, type mail.example.com, where example.com represents your domain name.
- Confirm that the Authentication check box is selected.
- In the Username text box, type the e-mail address of the account you created in cPanel.
- In the Password text box, type the password for the e-mail account you created in cPanel.
-
Click Add:
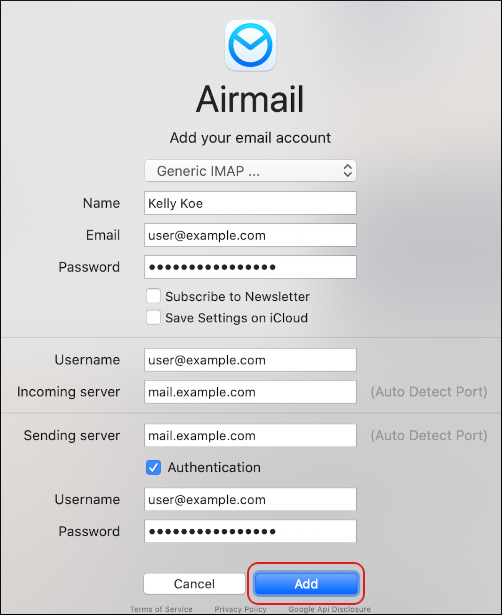
Airmail detects the server settings automatically.
-
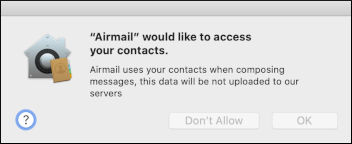
To allow Airmail to access your contacts, click OK. Otherwise, click Don't Allow:
-
To allow Airmail to access your calendar, click OK. Otherwise, click Don't Allow:

-
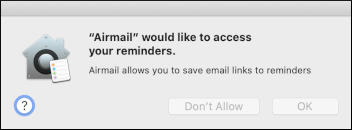
To allow Airmail to access your reminders, click OK. Otherwise, click Don't Allow:
- Airmail downloads any messages in the account, and the inbox appears.
